Tuesday, 21 February 2023

Blender Course Progress

 As part of the 705 unit, I started to learn how to use Blender, I want to use Blender as my 3D modelling, sculpting and animating software as I can then use one software for the majority of things I need to do. Having never used Blender before I had to start from scratch with this, I bought a blender course bundle and have started on the 3D modelling course, which takes you through using the blender interface and also starts teaching you how to model by creating a castle. 


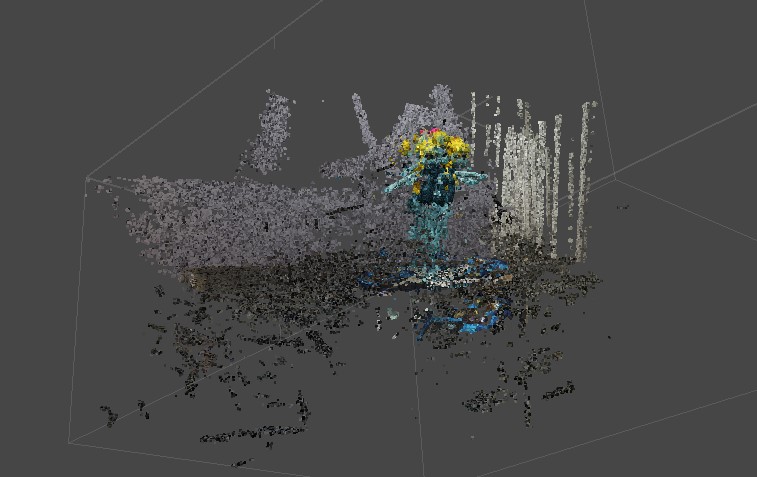
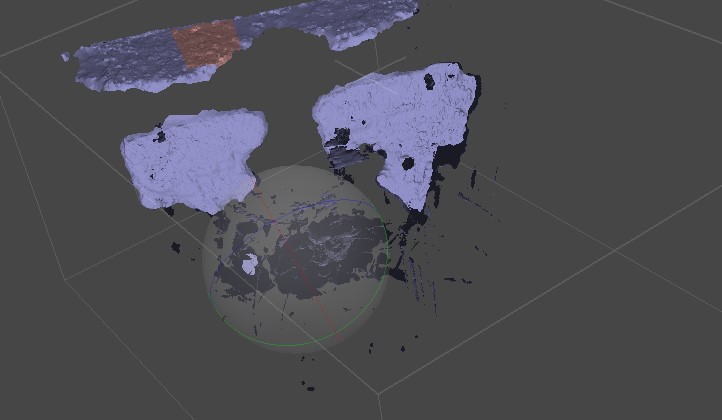
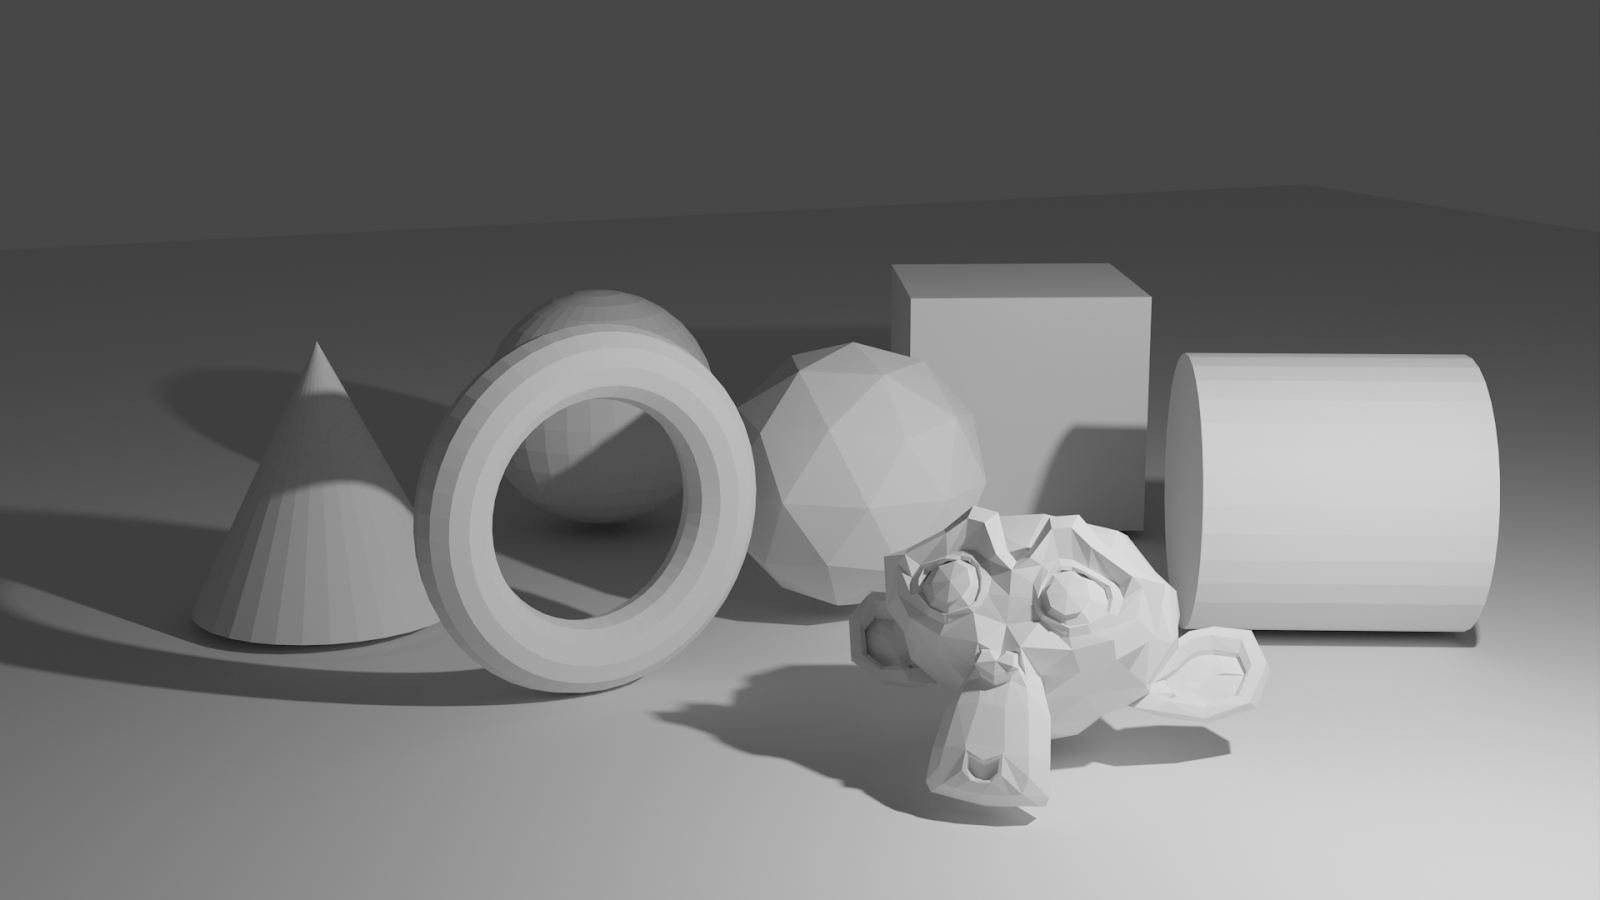
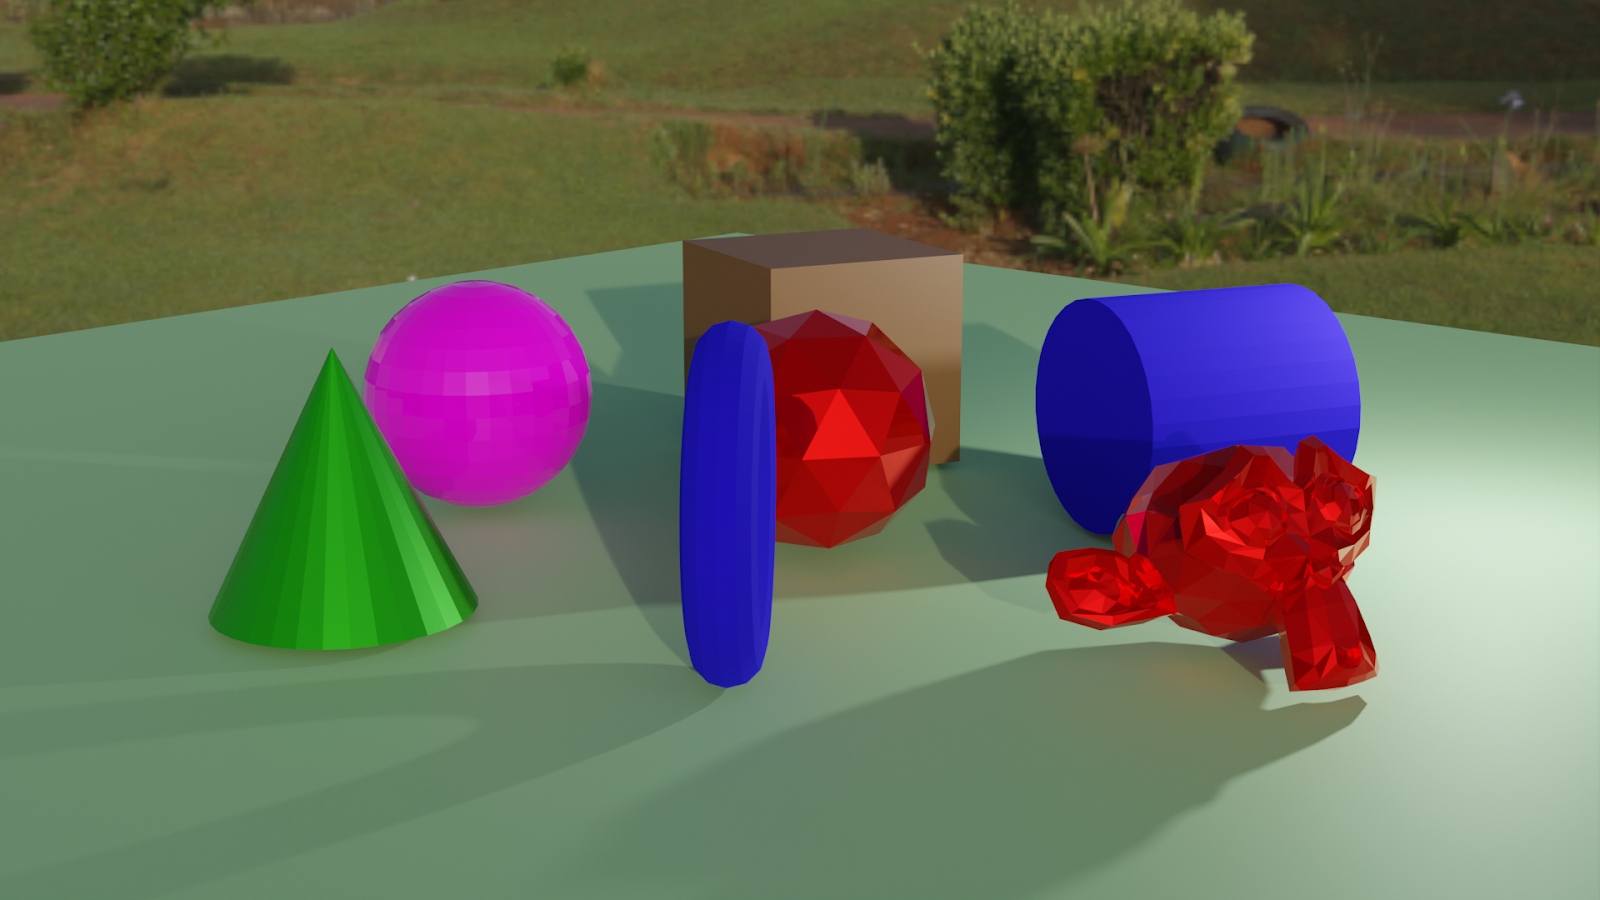
I have completed the first section of this course, which is learning the basics of the interface, how to add and manipulate objects, how to add materials, how to add textures, how to use the node system and how to render image outputs. Here are the outcomes of this section of the course. 


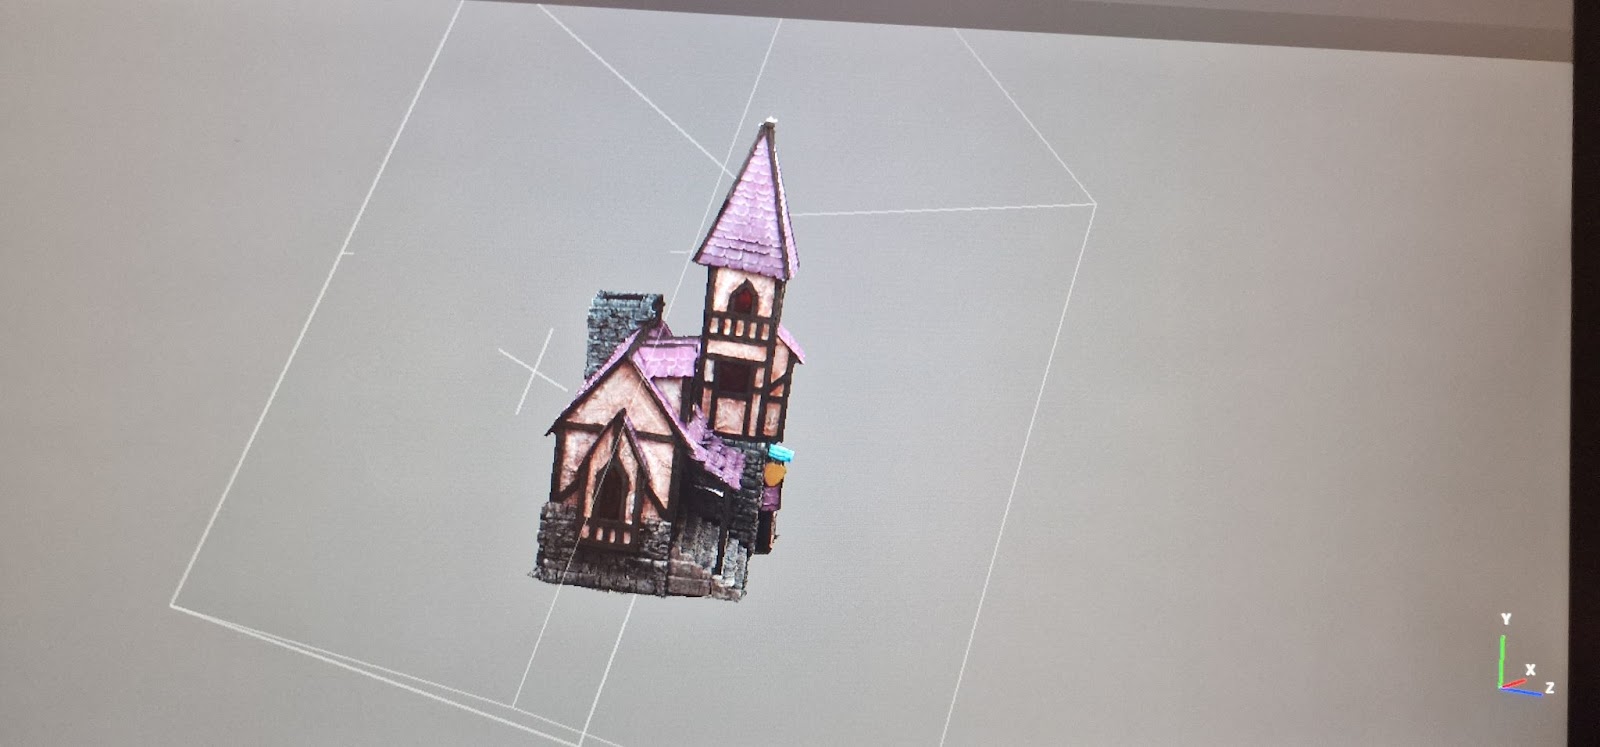
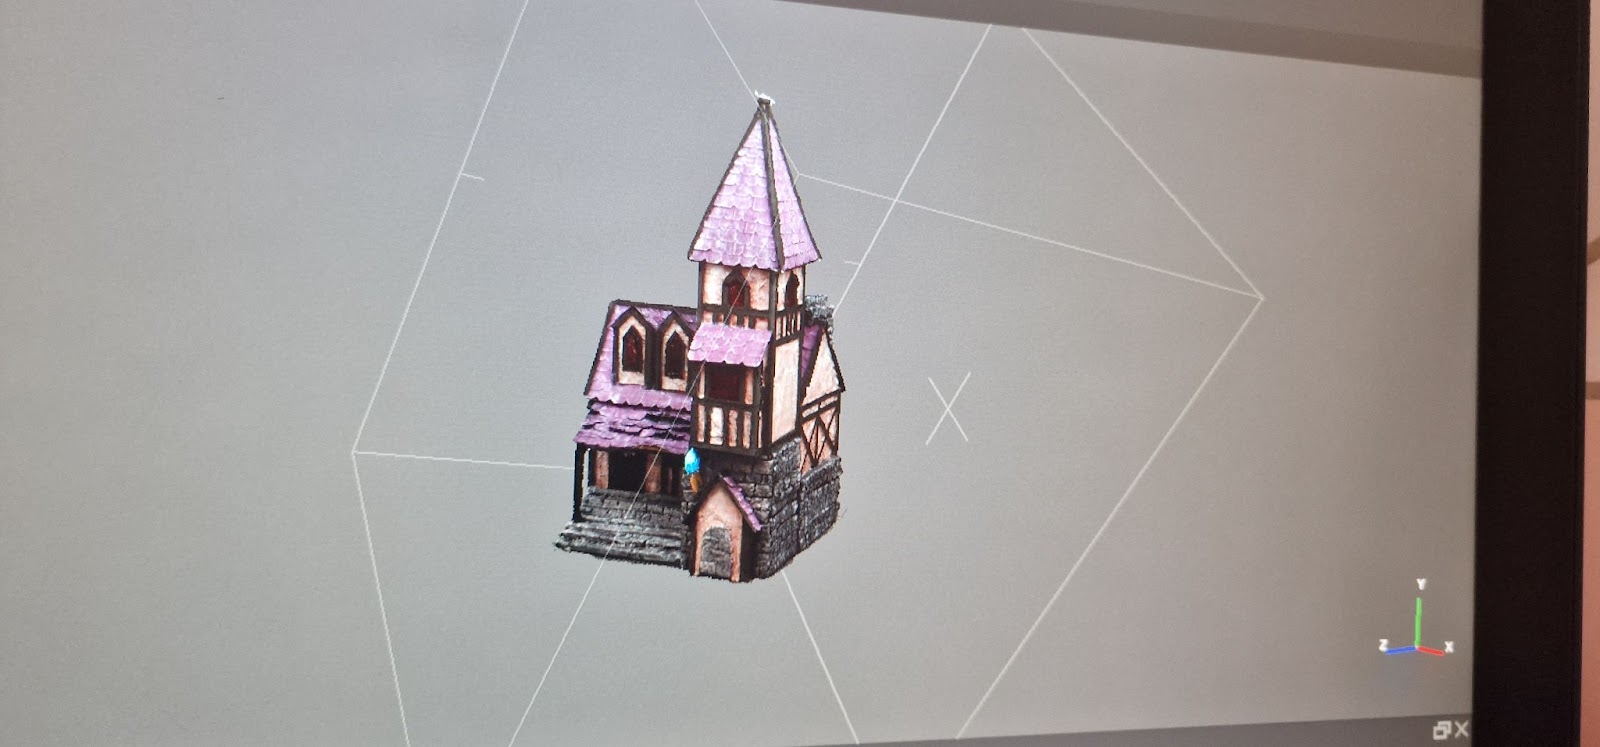
I have now moved on to the main course which is a step-by-step course to build a castle, this will help me to learn the interface in more depth as well as different tools and actions that I will need to model elements for my project. 


So far I am really enjoying this course and I like the Blender interface. I did learn 3D at university (using Maya) however I never went into much depth with this then and have since forgotten how to use it. I struggled a lot when learning Maya and because of that I ended up hating the program I never thought I would do 3D again after this, so I was rather shocked to find that I was enjoying this so much. I think a large part of this is from using the course as it means I have step-by-step videos, that talk you through each section very clearly, I also like that I can go back to past videos should I need to. I think completing these courses will help me to learn the 3D skills I need to complete my project but it will also give me the confidence that I need to work in 3D. While I have learnt digital sculpting software since university (ZBrush) and feel relatively confident with at least the basics of this software, I had found that 3D modelling was very different, I enjoyed ZBrush as it was more like using real clay as opposed to a very technical system and because I have practical sculpting skills I believe they helped me greatly, with 3D modelling I only had the bad experience learning Maya to go on and was not confident in my ability to use it in my project, this course was definitely a right move for me as I already feel like I will be able to do the 3D modelling elements of the project as it is nowhere near as complex as I remember, and it does build on existing practical (model making) skills that I have similar to ZBrush using my practical sculpting skills. 


I am very keen to progress with the course and learn to 3D model and also progress on to how to sculpt and animate in the software. It should be much easier for me learn how to use a single software as opposed to multiple, it means I will be able to focus on a single interface and go more in-depth with my learning and knowledge. I also think that gaining confidence in one 3D software will help me have the confidence to approach and use others should I need to, many of the controls, shortcuts and tools are the same in different software and is only a case of finding them, once I have learnt more Blender I will have the base knowledge to draw upon and then branch out further into different software. This will definitely help me with the project overall as there are going to be situations when I need to use different software. 


Friday, 17 February 2023

Practical Set Build and Photogrammetry Test

 As part of 705, I conducted some more photogrammetry tests to attempt to put them into a VR environment. The first stage of this was to build an environment using practical materials.


I used recycled materials where possible to keep the testing stages of the project as sustainable as possible. This is due to the fact that I am having to do numerous tests, if I used certain materials every time (like wood) not only would this become very expensive but it would also have an impact on the environment. To counter this I decided to use cheaper materials first and then once I have learnt the pipeline fully, I would use better and more long-lasting materials for the final idea. 


I used cardboard from packing boxes to create a frame to build upon, I cut out each section and used a glue gun to stick them together. Once the frame was built I started to add different materials to create textures, this is an important aspect of the build, and is an essential part of my project. A number of the theories I discussed in my dissertating focus on the visual tactility of objects and how they can invoke embodied memories, one of the main purposes of my project is to use real-world textures from stop motion in a VR environment, as opposed to a fully 3D environment where these are not present. Because of this, I focused on creating different textures that would mirror the real world. A lot of the techniques and materials used are used in stop-motion animation sets but also in movies where miniature dioramas are used in place of real-world sets. They focus on creating lifelike textures at a miniature scale. Because of the scale, you can't use real-world materials in all cases to create miniature builds, as they are too large. I had to find different materials to use to create the different textures I wanted, and again the cost and sustainability of these items were a factor. Some of the textures I wasn't able to create some without buying certain materials, while this isn't as sustainable as the recycled cardboard it was a necessity of the project in order to get the correct textures needed to see how the photogrammetry software captures them. 


I used blue foam, that I cut and scored to create a brick texture, this was glued around the bottom of the frame to create a brick build. I next used wood sticks to create beams and edges. I finally used a kitchen roll and glue (similar to a paper mache technique) to create the texture of the plaster. I finally used recycled cardboard envelopes and cereal boxes that were cut into strips and shaped to create the tiles on the roof. This was all coated in a layer of Modge podge mixed with black paint (this creates a waterproof seal between the cardboard and the paint so that when it is painted it doesn't warp) I finally painted the whole model, adding a base layer, using the black seal as undertones and dry brushing highlights. I added coloured plastic to the windows, and it was ready to take photos of. 


This build is nowhere near perfect as I produced it very quickly mainly to test the results that the software would pick up and how the textures would translate into 3D and VR. If I had more time and used different materials I know that I can achieve a better result. However, this is fit for purpose in terms of collecting data and feedback from tests. Below are some images of the building and painting stage of the house. 


I tried to avoid areas that had undercuts in this build. This was because, in my last photogrammetry tests for the tower, it had lots of undercuts, these are areas that the photogrammetry software struggles to pick up, I did however want a few so that I could try and improve the images I took and see what the limits that I could capture were, and also so that I can learn to manually repair and build the missing areas in 3D software. 


I took multiple images of the house using the same set-up that I had previously, making sure to use a fixed focal length, soft diffused lighting and making sure to have areas of overlap. I used these images in Agisoft Metashape to create a scan. I worked through the complete photogrammetry workflow that I have previously discussed in my past blogs. The finished result of this test was much better than previous tests, I can tell that not only have the points that I took into account in the building process benefited the result but I have also improved during the image-taking process. Below are some images of the cleaned-up and textured scan of the house. 


This has worked really well and it has captured a lot of the real-world textures in great detail. There are a few areas that need to be improved/fixed, such as it being unable to recognise the area under the front verandah. This area along with the base and top of the tower are areas that I need to fix in 3D modelling software. This is good as it will allow me to learn the next stages of the pipeline. 


The next stages that I need to complete are to export the model solid as an OBJ file and take this into a 3D software (I will more than likely use Maya for this) here I will fill all the gaps in the model with basic polygons, this ensures there are no gaps in the model. I will then export the model again and move it to ZBrush, where I re-mesh and UV the model, I will then export this new model and put it back into Agisoft to create the textures, I will export this again so that I have a finished model as well as a texture that I can edit in photoshop. 


This is a part of the pipeline that requires jumping around different software and having multiple different OBJs to work from. Because of this, it is important that I carefully consider my file structures for the work as well as the naming conventions that I use. Before I begin I will need to build a file structure that works and that I am able to keep all the work in while knowing clearly from a glance what each file is. 


As I continue on 705 I now need to start learning and testing different 3D software so that I can get a result I am able to use in VR. I will use this house to conduct the next stages of pipeline testing as it is currently the best result I have. I can also combine this scan of the building exterior, with what I have been learning from the Blender course I bought, as I will eventually be able to model the interior of the house in Blender and attempt to combine the two elements into one.


Photogrammetry test - Doll 2

 As part of the continuation of testing to develop the pipeline for 705 I did another photogrammetry test using a different monster high doll. I thought that this test would go better than the last one due to the original doll having glittery skin. But this test actually turned out worse!


In the previous test I had something that was at least recognisable, but this time the software could not recognise anything of the doll. Here you can see the point cloud for the images I took of the doll. While I could tell at this stage it would need some clean up I didn't realise how bad it was. 


I generated a high-density point cloud and it's here that I could see I had massive problems. The doll has only picked up in small areas and the software can't match any points together. It has picked up the wall and the table really well, but not the actual subject, it has also staggered the doll so it almost duplicated in different slices. 


You can see here in the model solid just how bad it is, as it doesn't resemble a doll in the slightest. 


I'm not quite sure why this happened, I spent a long time trying to fix this and get any data out. I took a lot of images so I tried to use different combinations, as opposed to using all of them, while I did get different results from this, none were even close to being usable. You can see below the number of images I have taken. 


I think the issues are from taking the images and I need to find a better way to collect them for the doll tests. I may need to get closer to the doll to take the images so that it fills most of the screen. Or the other way around is to take a blank image of the background without the doll, I can then use this in software to tell it where to recognise. I am not sure how to do this yet (but I know it can be done) I have been recommended to watch a great video that is of Alex Alvarez where he talks through how to do this step by step. I need to watch this video before I do any more tests using the doll/puppets. 


While this test hasn't worked I have learnt more about photogrammetry and what not to do/ things I need to improve before I try again with capturing a doll. I will watch the video and try again, but for the next stages of testing and building the pipeline I am going to focus on getting an environment into VR. This is because of the time restraints to complete the MA course and because the doll/ puppet is proving considerably difficult to do, I will be better using my time to learn and achieve a result using the environment. I can come back to trying to capture the puppets at a later date.


Wednesday, 1 February 2023

Software Licencing and Law

 For this project I require lots of different software, which I have previously covered, when I was updating my software I realised that because many of the existing software I have and use is a teacher/academic licence, this means they can be used for non-commercial work. This is currently ok as everything I am doing is only for my masters, and for studying and learning. However, should I continue to progress with this project and intend to release or sell it then the work would become commercial as it is intended for commercial or monetary advantage. This means that I could not use the current license I have and would either need to upgrade (which would be incredibly expensive). Because of this, I decided to create a spreadsheet with the expenses of each software I had planned to use along with the licence types. 


Software

Price

Previously Purchased Price

Licence Type

Full Licence Price

Agisoft

£62.71


Teacher Licence/non commercial

$179 Perpetual

Dragonframe

Already Had

£224.99

Teacher Licence/non commercial

305/Perpetual

ZBrush

Already Had

£420

Teacher Licence/non commercial

£802.80 - £322.80/ per annum

Autodesk - Maya, Mudbox, 3DsMax

Free Work Licence


Teacher Licence/non commercial

Maya - £1968 Per annum

3DsMax-£1968 Per annum

MudBox -£102 per annum

Houdini

Free Apprentice licence


Watermarked/non commercial

Full FX - £4495 Perpetual

Full core-£1995 Perpetual

Indie - £269 Per annum

Foundry - Nuke, Mari Modo

£168


Teacher Licence/non commercial

Nuke - £2499 Per Annum

NukeX - £3699 Per Annum

Nuke Indie - £399 Per Annum up to 100K

Adobe

Free Work Licence


Full/commercial

£51.98/mo

Quixel Mixer

Free


Full/commercial until over $1million - Part of Unreal Engine


PureRef

Free


Unreal Engine

Free


Full/commercial until over $1million


Krita

Free


Full/commercial


Blender

Free


Full/commercial


Courses

Price


Blender Course

£46.70


A lot of the software I had planned to use is on a teacher/academic licence, but I have found free alternatives  to most that work on an open licence and can be used commercially. Because of this, some of the software I had intended to be used may be changed for one of the free alternatives, this will save me time learning multiple software should I need to change them in future and stop the potential future cost associated with them. 


The software changes would be:

  • ZBrush to - Blender

  • Autodesk Suite to - Blender

  • Houdini to - Blender and After Effects 

  • Agisoft Metashape to - Full Licence 

  • Adobe stays - Can be used commercially 


Luckily there are lots of great free software available that I can use, Blender is a great option for me, as I have purchased the course to learn it and it also is a free open licence, it can also be used to create a lot of the different elements that I need meaning I would only need to focus on learning a single software. 


705 Unit Update

After speaking to my tutor, I refind some of the work that I would produce on this unit down, this made the work more manageable and also made sure that I was focusing on the areas that I need. 


Here are some notes from the meeting with my tutor:

Task 1 - Negotiated project - Written Project Proposal - (PhD Proposal)

This should include: Evidence of practice, that relates to the theory discussed in my dissertation, and a document to support my work - can keep a record on the blog, but then needs refining down to go in the proposal. 

Remember _

  • Don't speculate - what is it now?

  • Be specific

  • Write like the person reading it knows nothing about the project

  • Must be clear

  • What is the critical context

  • What is the gap in knowledge this will fill

  • Cut the question down - what is the real question I am trying to answer? Define it more.

  • Objectives = Small steps or actions I will take to get to the aims

  • Aims = big steps or actions

  • Goals = the dreams 

  • Test criteria - what am I using to conduct tests? Different lenses to look at the tests through

  • What are the testing criteria 

  • Conclusions of those tests

  • Instead of an audience how can you test?

  • Comparison - 3D vs stop motion

  • Understand the rules of the theory and how to apply them

  • Theory - how does a practical object deliver

  • How do I apply the different lenses?

  • How do I get the answer to my question from the lenses?

  • What is the question? 


After speaking to my tutor we agreed on the outcomes I would produce for each task. These are 


Task 1 - Negotiated Project - 

  • Research Project Bible 

  • Finished written document

  • Record of research - Refined, in one place (in the proposal)

  • Practical tests (house, doll, 3D, into VR)

Task 2 - Professional Portfolio 

  • CV

  • Business Cards with Logo

  • Professional Website 

  • Social Media Platforms - Linkedin, Artstation, Instagram,

  • Showreel and portfolio?

Task 3 - Critical Evaluation

  • 1500-word written evaluation 


The major changes are that instead of designing and building a new village and environment I will instead be using models that I already have to conduct tests with, this will give me longer to learn how to do the 3D elements of the project. The PhD/ project proposal has also moved to become a major outcome of task 1 instead of being part of my professional portfolio, this means I have the time needed to create this properly and have the finished refined document that I need. I have also taken out the studio, and professionals research that was suggested here as this is something I already know a great deal about (as I teach it to my students) I will instead be researching places to study a PhD, and potential conferences, networking events and festivals that I could attend. This will make the workload much more manageable in this unit as I am not having to build as much and instead I will be actively working on the elements that I need for my future progression. 


To help me with my master's work I have also purchased an online Blender course, to help me learn how to model, and rig in Blender. This will be important for me in the testing stage of this project as it is a skill I need to complete the project, I will need to be able the interior of the house, and it is also helpful that I know how to rig character so that if I get time I can add some into my work. Here is the course that I have bought:


Professional Portfolio

 To start creating a professional portfolio that can be used to make industry connections and progress I have first started to update and improve my existing pieces. In week 2 of the project, I spent an afternoon editing my CV, adding new job roles and details, and editing my LinkedIn account. 


Linkedin

I have had my LinkedIn account since university, having made it for one of the units on my degree, I did use it for a while but have not really been active on it for a few years, it was very out of date and didn't really look good. Instead of creating a new LinkedIn, I decided to edit and improve my existing one.


I first went through all my connections and deleted the ones who weren't relevant or helpful to my career in the industry (a bit brutal, but necessary), I then updated my profile, making the job title at the top more relevant and making sure to use keywords, as this is what the LinkedIn algorithms use in searches. I also updated my profile picture, and experience (leaving only relevant jobs on). I went through my education section next, which had all my qualifications including my old beauty therapy ones, I was recommended to remove these as they are not relevant to the industry that I am now working in and are not needed. After deleting some relevant qualifications I added my master's course, and then went through all the skills that I had listed, again removing ones that weren't relevant and adding new more relevant skills I also re-ordered these skills so that more industry-relevant skills are at the top. I need to ask for some connections to endorse my skills, as this will enhance my profile further. I then wrote a new Bio/About section, keeping it more relevant and professional, I made sure to concentrate on my jobs as a teacher and the work that I do personally and as part of my master's. 


I had a friend (and industry professional) help me with my LinkedIn, he gave me tips on what the industry looked for on the platform and how best to use it. As we have worked together previously he also left me a recommendation as this is something that carries more weight than endorsements when people look at your profile. 


Once my profile looked better, I added some new connections that were relevant to my project and made sure that I was following relevant studios. The following steps with my LinkedIn are:

  1. Get more skills endorsements

  2. Get some recommendations

  3. Make some posts and look more active on it

  4. Keep it up-to-date and active

  5. Interact with connections posts


To help make sure I stay active I have installed the LinkedIn app on my phone. Because my posts on here need to be professional, I need to take some good-quality images of my work so that I can share it here, I also need to do this for Artstation, this is a task that is on my schedule and that I need to take some time to do. 


Artstation

As part of my professional portfolio, I also created an Artstation account as this is a really good social platform to connect with other artists and keep a digital art portfolio. So far I have created the account and filled out the profile sections that same as LinkedIn, the next steps I need to do for this are:

  1. Sort artwork images to post

  2. Download the app

  3. Be active with posts and interact with others

  4. Add links to other social platforms. 


CV

The final section of my professional portfolio that I made in week 2 was to update, edit and improve my CV, I made a generic CV with all the written details and then created an art CV that looks nice using the written details to help. I will mostly use the single-page art CV that I have made but have kept the type format should it be required and also because it is easy to edit. 


Below is an image of my finished creative CV (I have redacted some sections on this for personal safety)


Next Steps

The next steps that I need to do for my professional portfolio are:

  1. Sort professional Instagram

  2. Make a linktree

  3. Logo - re-design/update

  4. Business cards 

  5. Research For Website 

  6. Create website

  7. Studios research

  8. Job roles research

  9. Networking and conference research 

  10. Showreel

  11. Portfolio 

Final Presentation

 To end the MA we were to complete a final presentation to our peers, supervisors, course leader as well as people from industry.  For my pr...