As part of 705, I conducted some more photogrammetry tests to attempt to put them into a VR environment. The first stage of this was to build an environment using practical materials.
I used recycled materials where possible to keep the testing stages of the project as sustainable as possible. This is due to the fact that I am having to do numerous tests, if I used certain materials every time (like wood) not only would this become very expensive but it would also have an impact on the environment. To counter this I decided to use cheaper materials first and then once I have learnt the pipeline fully, I would use better and more long-lasting materials for the final idea.
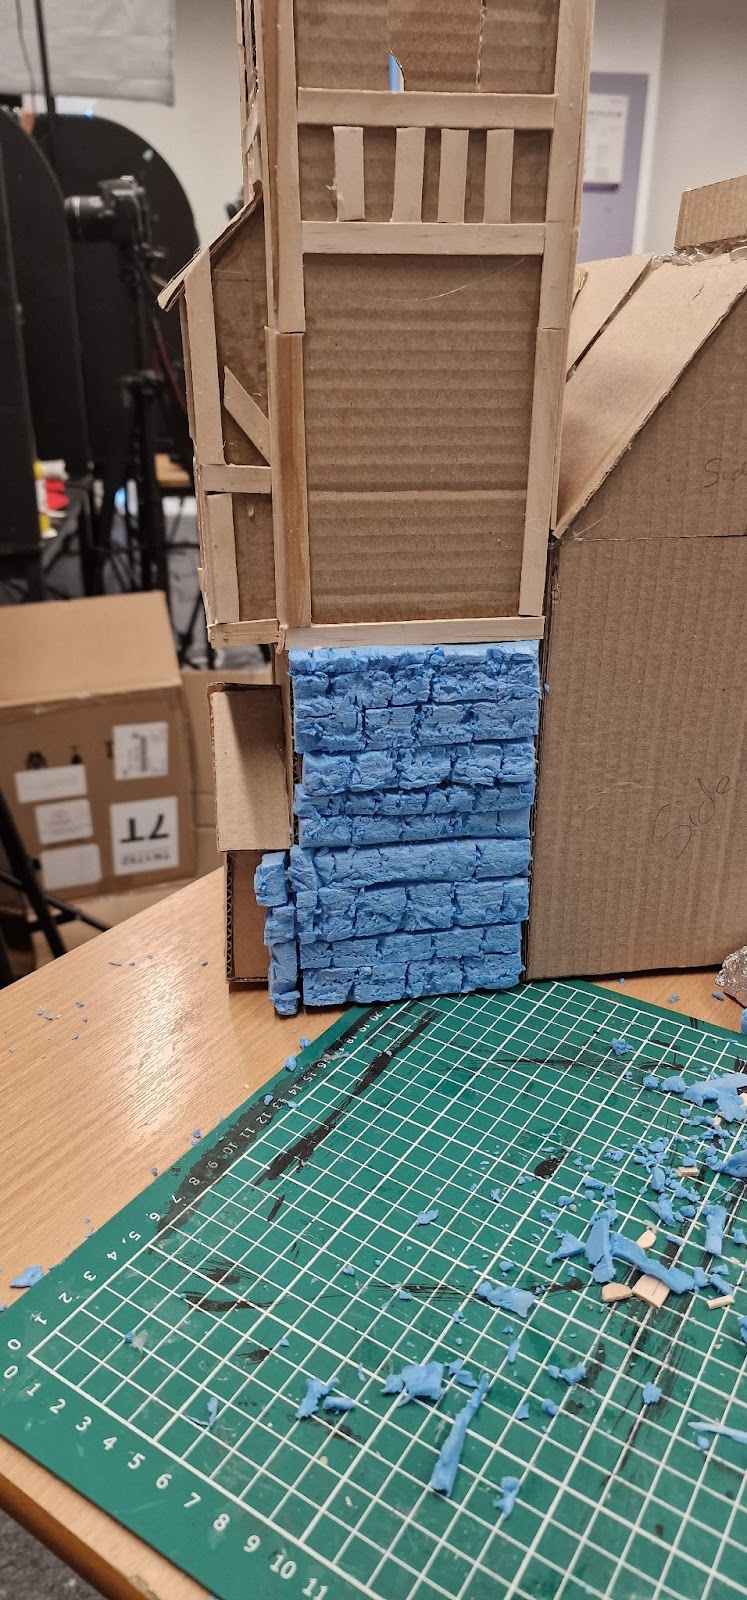
I used cardboard from packing boxes to create a frame to build upon, I cut out each section and used a glue gun to stick them together. Once the frame was built I started to add different materials to create textures, this is an important aspect of the build, and is an essential part of my project. A number of the theories I discussed in my dissertating focus on the visual tactility of objects and how they can invoke embodied memories, one of the main purposes of my project is to use real-world textures from stop motion in a VR environment, as opposed to a fully 3D environment where these are not present. Because of this, I focused on creating different textures that would mirror the real world. A lot of the techniques and materials used are used in stop-motion animation sets but also in movies where miniature dioramas are used in place of real-world sets. They focus on creating lifelike textures at a miniature scale. Because of the scale, you can't use real-world materials in all cases to create miniature builds, as they are too large. I had to find different materials to use to create the different textures I wanted, and again the cost and sustainability of these items were a factor. Some of the textures I wasn't able to create some without buying certain materials, while this isn't as sustainable as the recycled cardboard it was a necessity of the project in order to get the correct textures needed to see how the photogrammetry software captures them.
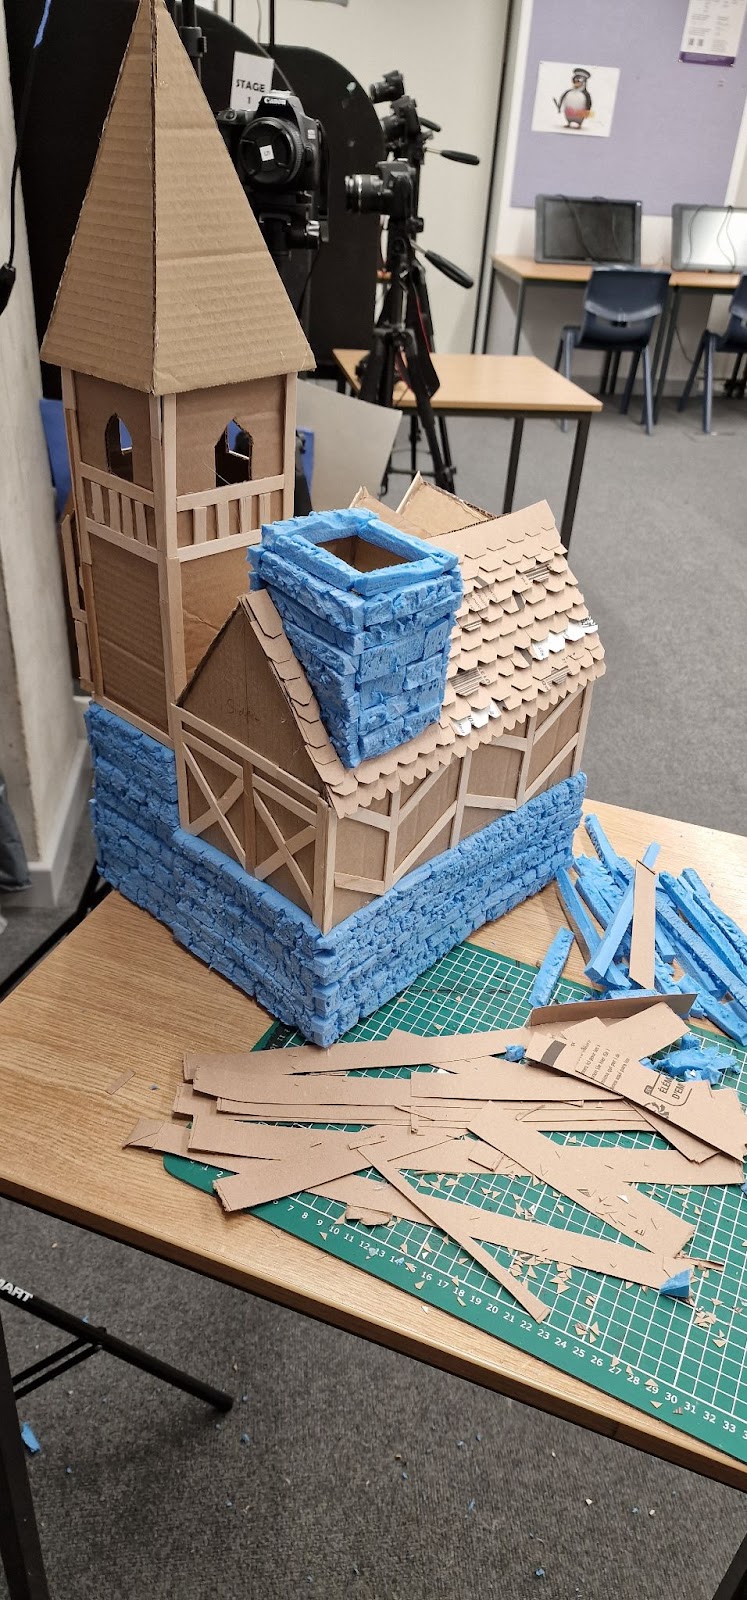
I used blue foam, that I cut and scored to create a brick texture, this was glued around the bottom of the frame to create a brick build. I next used wood sticks to create beams and edges. I finally used a kitchen roll and glue (similar to a paper mache technique) to create the texture of the plaster. I finally used recycled cardboard envelopes and cereal boxes that were cut into strips and shaped to create the tiles on the roof. This was all coated in a layer of Modge podge mixed with black paint (this creates a waterproof seal between the cardboard and the paint so that when it is painted it doesn't warp) I finally painted the whole model, adding a base layer, using the black seal as undertones and dry brushing highlights. I added coloured plastic to the windows, and it was ready to take photos of.
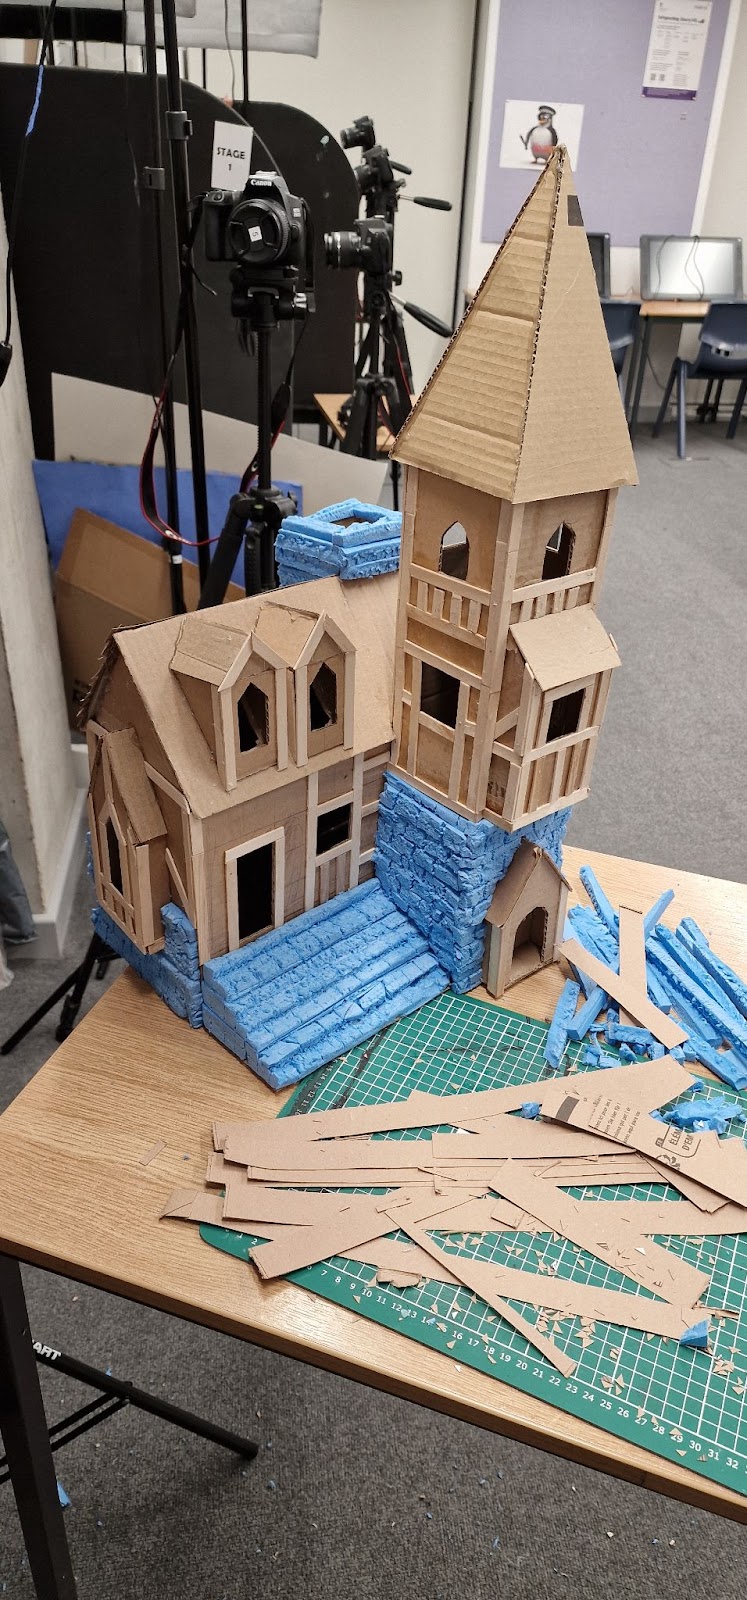
This build is nowhere near perfect as I produced it very quickly mainly to test the results that the software would pick up and how the textures would translate into 3D and VR. If I had more time and used different materials I know that I can achieve a better result. However, this is fit for purpose in terms of collecting data and feedback from tests. Below are some images of the building and painting stage of the house.


I tried to avoid areas that had undercuts in this build. This was because, in my last photogrammetry tests for the tower, it had lots of undercuts, these are areas that the photogrammetry software struggles to pick up, I did however want a few so that I could try and improve the images I took and see what the limits that I could capture were, and also so that I can learn to manually repair and build the missing areas in 3D software.
I took multiple images of the house using the same set-up that I had previously, making sure to use a fixed focal length, soft diffused lighting and making sure to have areas of overlap. I used these images in Agisoft Metashape to create a scan. I worked through the complete photogrammetry workflow that I have previously discussed in my past blogs. The finished result of this test was much better than previous tests, I can tell that not only have the points that I took into account in the building process benefited the result but I have also improved during the image-taking process. Below are some images of the cleaned-up and textured scan of the house.
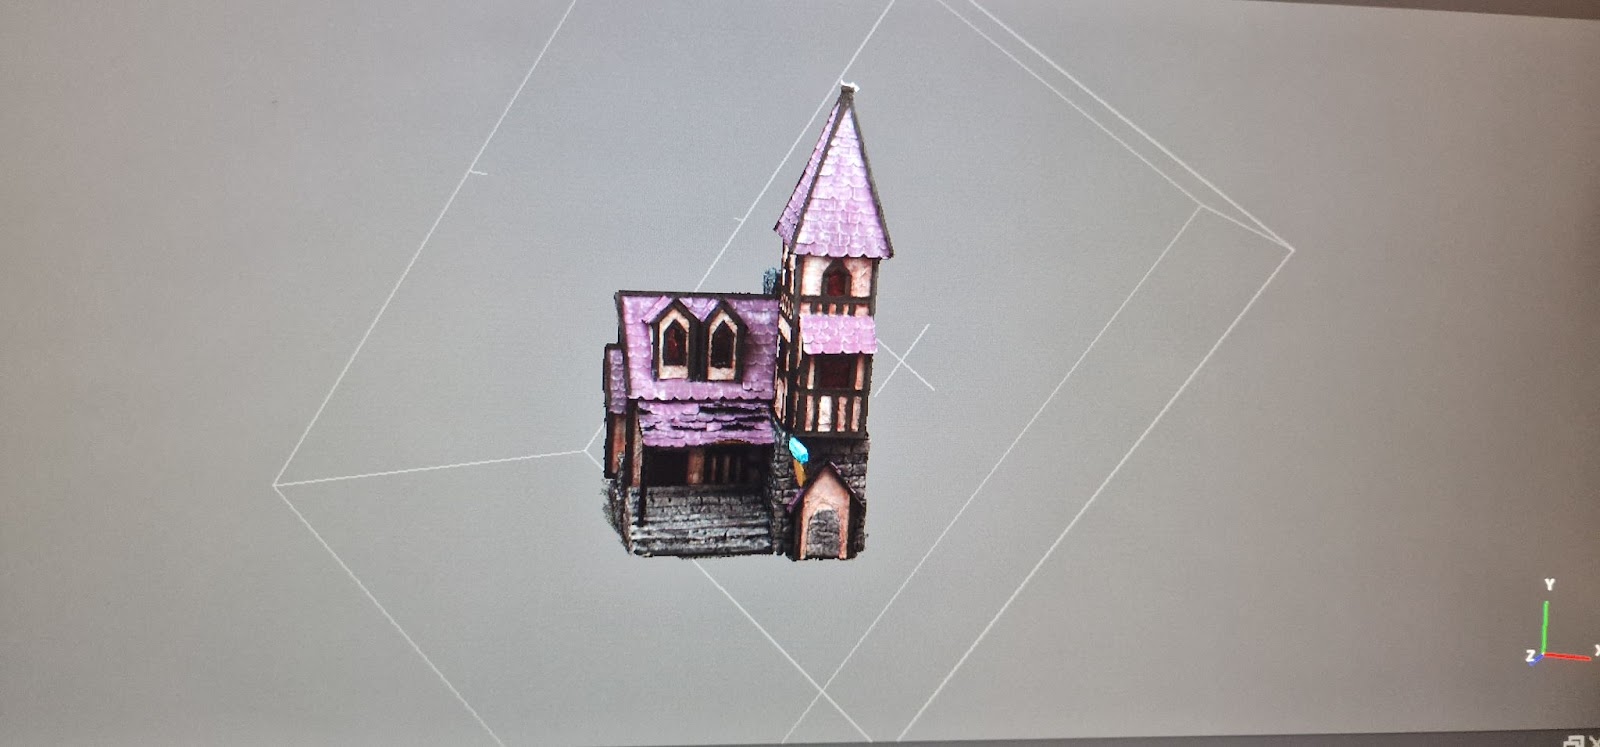
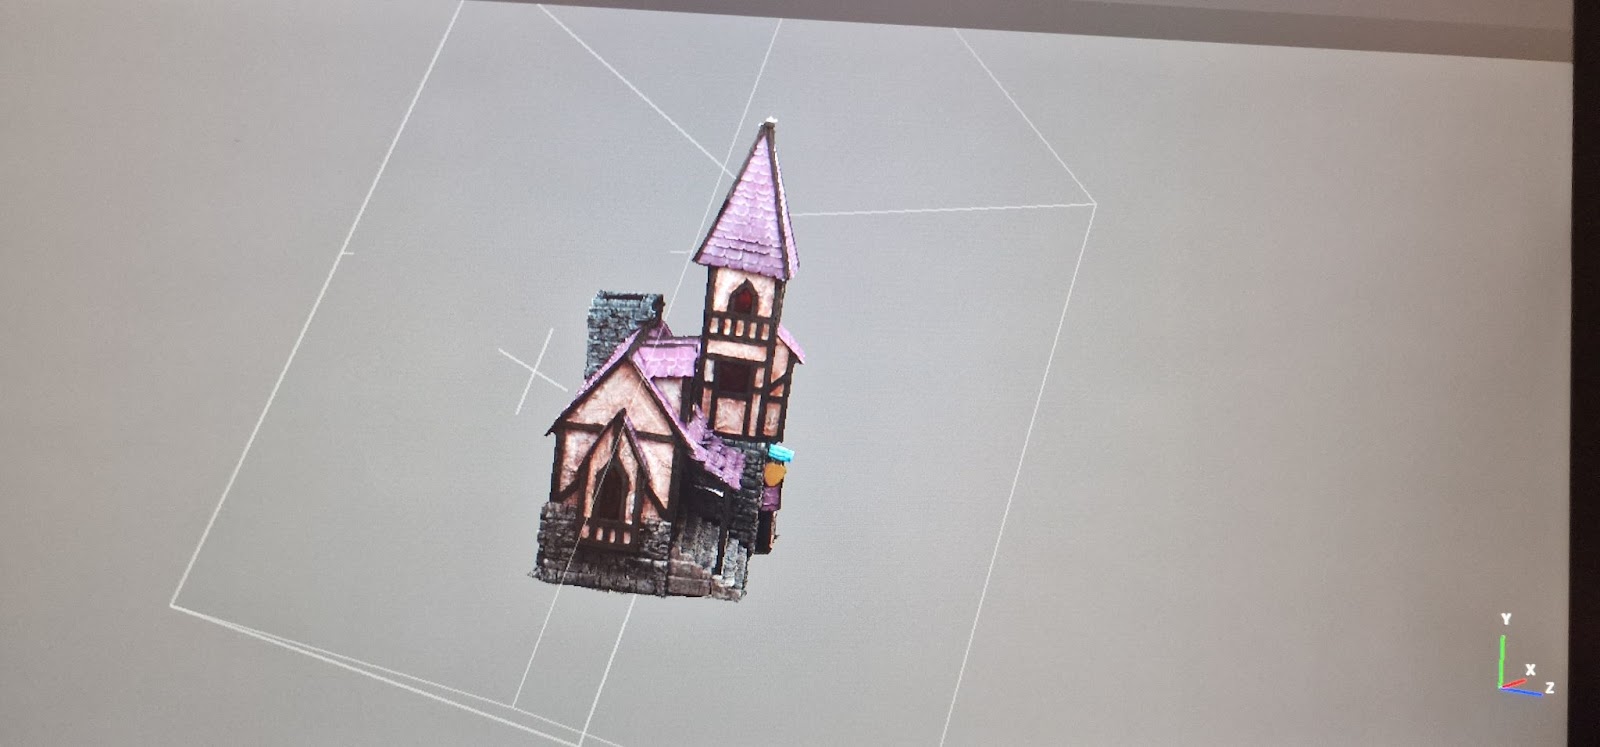

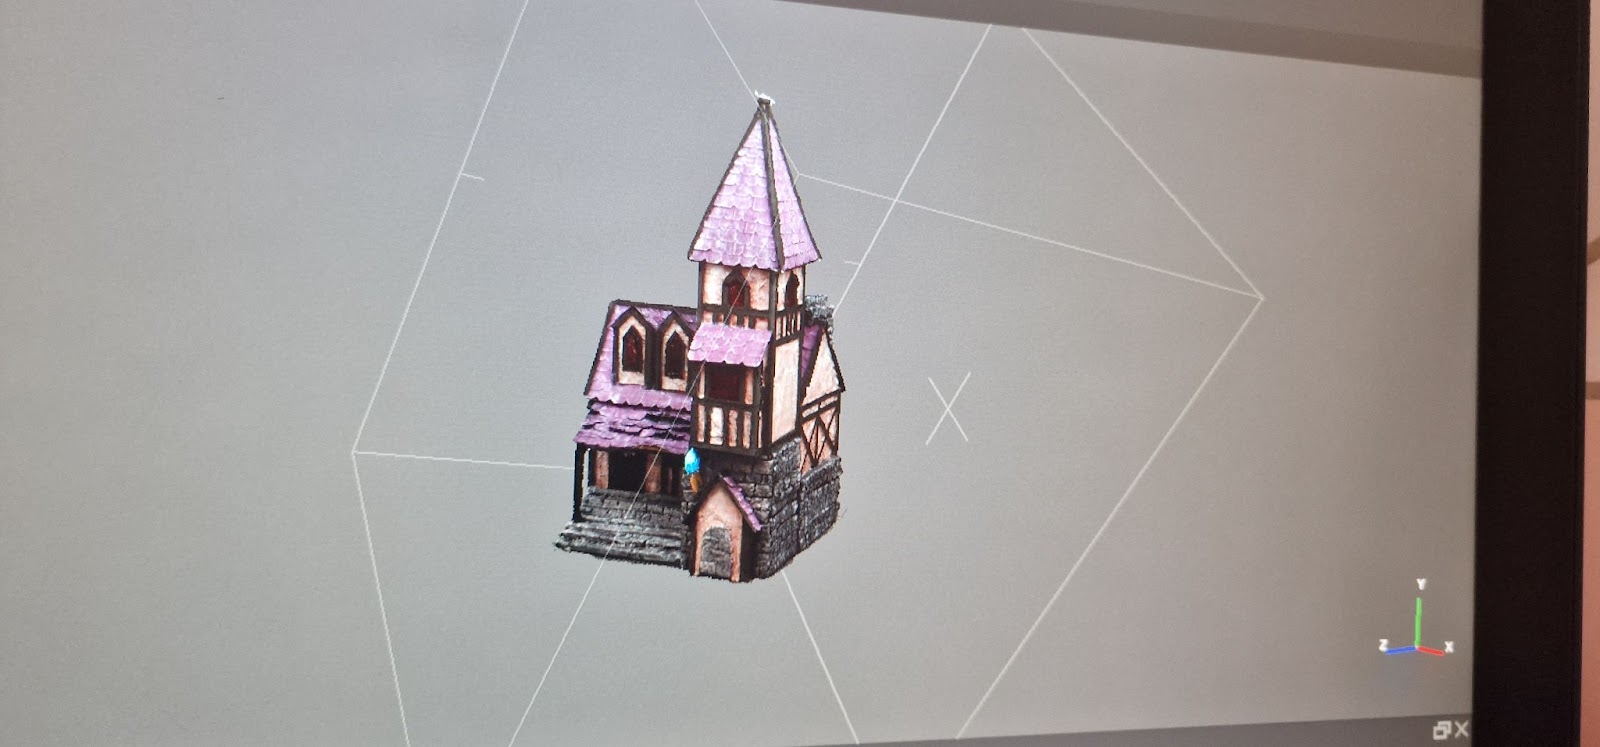

This has worked really well and it has captured a lot of the real-world textures in great detail. There are a few areas that need to be improved/fixed, such as it being unable to recognise the area under the front verandah. This area along with the base and top of the tower are areas that I need to fix in 3D modelling software. This is good as it will allow me to learn the next stages of the pipeline.
The next stages that I need to complete are to export the model solid as an OBJ file and take this into a 3D software (I will more than likely use Maya for this) here I will fill all the gaps in the model with basic polygons, this ensures there are no gaps in the model. I will then export the model again and move it to ZBrush, where I re-mesh and UV the model, I will then export this new model and put it back into Agisoft to create the textures, I will export this again so that I have a finished model as well as a texture that I can edit in photoshop.
This is a part of the pipeline that requires jumping around different software and having multiple different OBJs to work from. Because of this, it is important that I carefully consider my file structures for the work as well as the naming conventions that I use. Before I begin I will need to build a file structure that works and that I am able to keep all the work in while knowing clearly from a glance what each file is.
As I continue on 705 I now need to start learning and testing different 3D software so that I can get a result I am able to use in VR. I will use this house to conduct the next stages of pipeline testing as it is currently the best result I have. I can also combine this scan of the building exterior, with what I have been learning from the Blender course I bought, as I will eventually be able to model the interior of the house in Blender and attempt to combine the two elements into one.


No comments:
Post a Comment