As part of the testing in photogrammetry, I decided to practice and learn how to decimate a mesh, this is an important part of the production pipeline as it enables me to create a model that looks good but is also easy to handle.

This is a low-density point cloud

This is a high-density point cloud
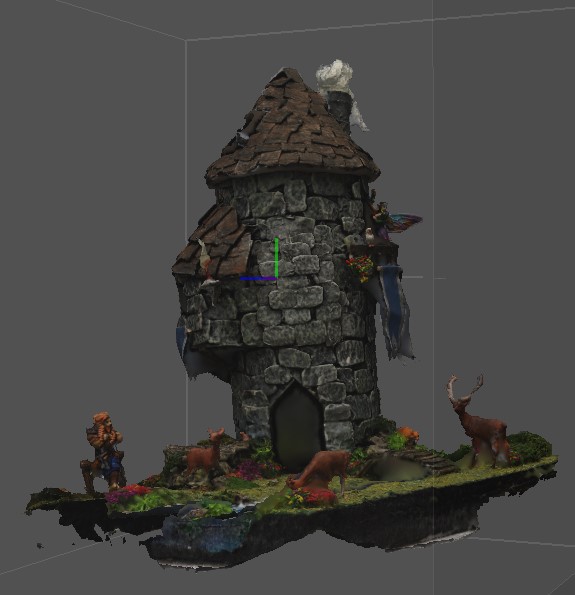
I then made it into a model. You can see the missing sections clearly here this is where images of the diorama were missing or unsuitable, it has also struggled to capture any of the resin water, this is most likely due to it being shiny, I will have to conduct tests with more resin objects as this will most likely be the material that the puppet heads are made of.

This is the model solid

This is the model's confidence, here I can see where I need to collect more images from

This is the mesh for the model you can see it's really dense.

I created a texture for the dense mesh to see what the finished model would look like.
I then decided to play around with the mesh and see if I could reduce the number of polygons in it to make it more optimised.

I adjusted the mesh for the model, and reduced the number of polygons, this made sure that it is a manageable object but I also need to make sure that it looks good. I played around with decimating the mesh to different amounts, I decided to reduce it right down to 10,000 polygons, this was to test just how low I could take the mesh before I had problems with the appearance.
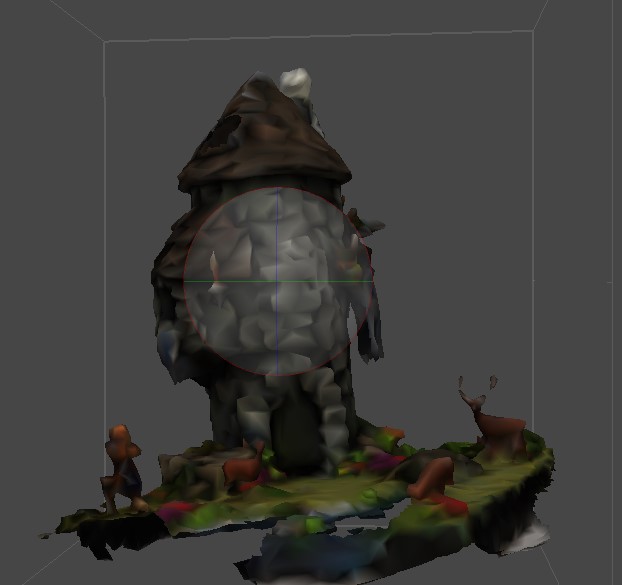

Here are the shaded model and the model solid for the optimised mesh, while this doesn't look good, I can still use this mesh and models and reapply the textures to the model. I reapplied the textures and got this result.
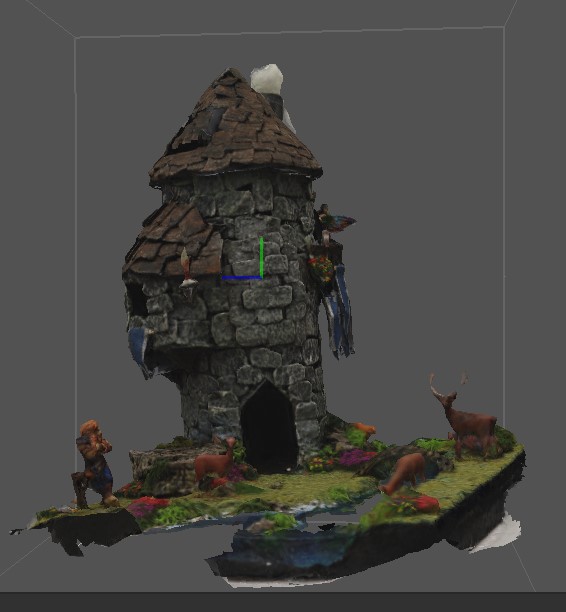
I reapplied the textures to the model and got this result, while it isn't as high a quality as the dense mesh it is good enough quality that I will be able to use it for background objects, this means I can use dense meshes for the object of importance and detail and can use lower mesh density for background objects. While this isn't as detailed as the first render it is still of a high enough quality.
I then experimented with creating a texture map from the agisoft software. This is the texture map for the dice tower.
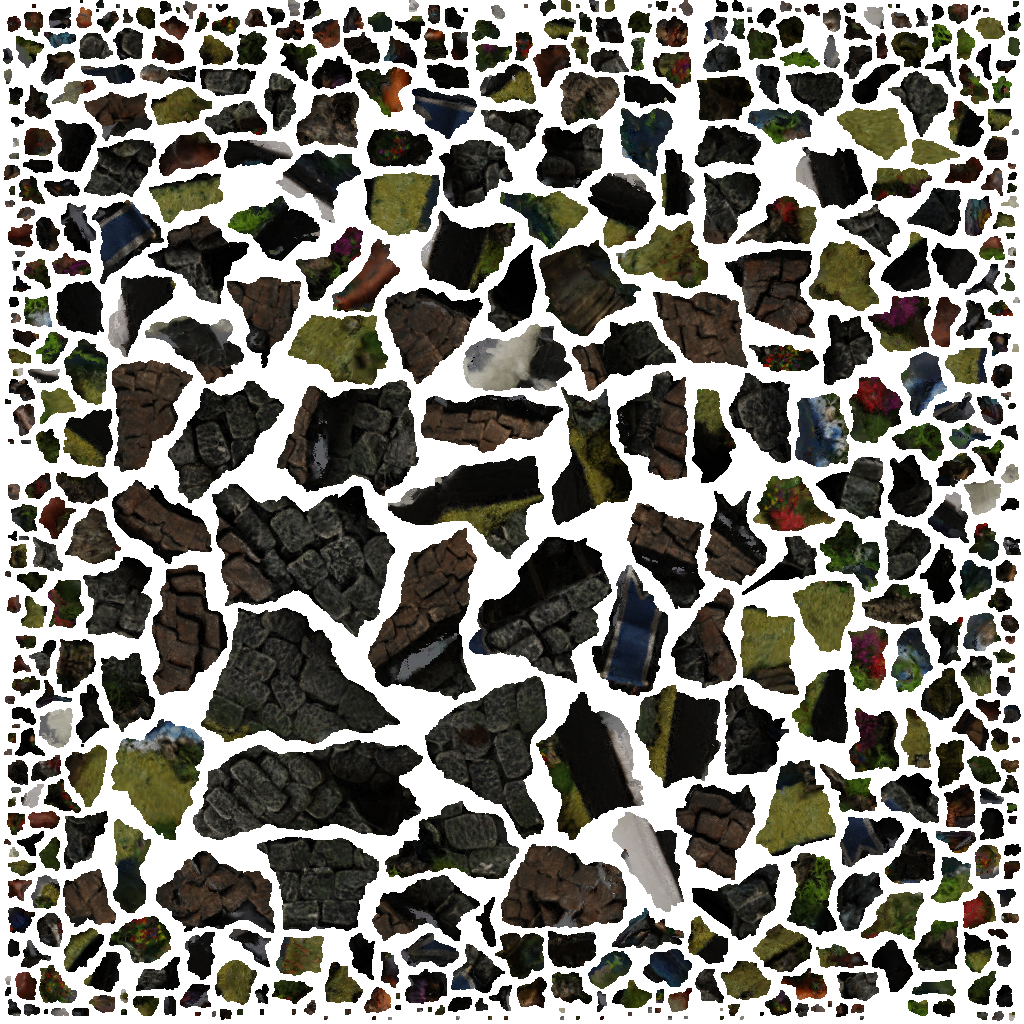
This isn't a good texture map if I wanted to paint an area, say add graffiti to the tower wall, on this map the tower wall is all over. I now know that to create a texture map that I can use I need to put the scan into 3D software, and rebuild and re-UV the mesh, this will mean that I can create a texture map that I can use in photoshop and repaint and modify. I will also need to put the object into 3D software if I intend to animate it and again rebuild the mesh and add UVs, as this is the only way I will be able to animate the scanned objects. This will be an important step for the puppets I capture in photogrammetry.


No comments:
Post a Comment