Once I had written my draft proposal I started to work on the practical elements again so that I could try and have a finished asset in VR by the end of the course. This meant that I had to learn some new skills again and also use some software that I haven't used in a long time.
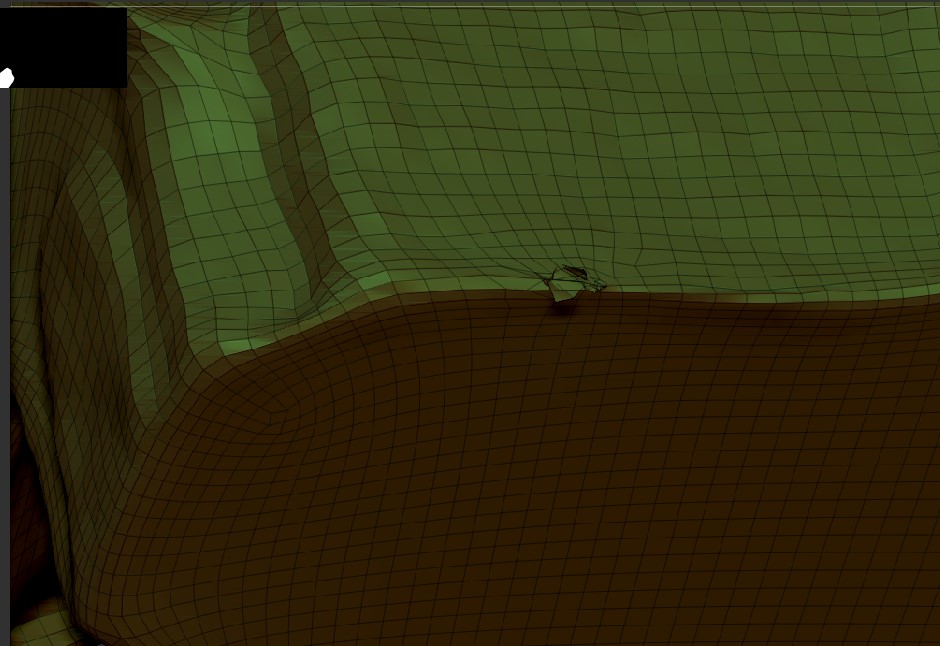
The first thing I needed to do was re-mesh the house in ZBrush. Once I had finished sculpting I used ZRe-mesher, this created a new low poly mesh that I could work with. Once I had done this, I checked around all the house to make sure there were no polygons facing the wrong way or any other things wrong. I came across this issue here which tuned out to be a hole in the mesh.
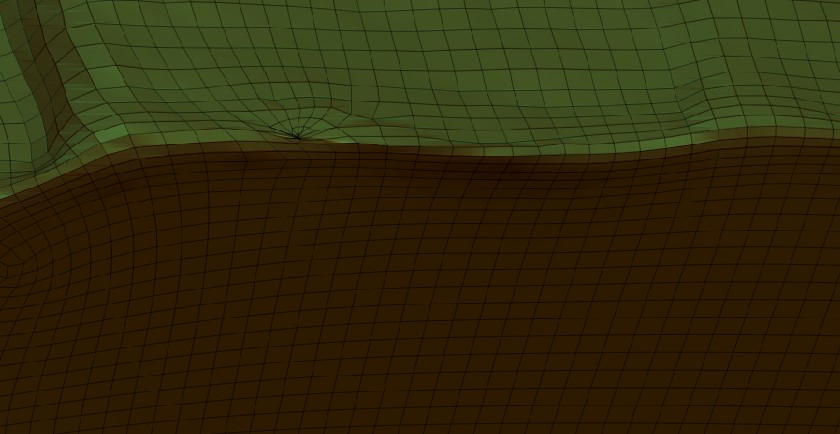
I used different tools to close the hole and smooth it, as you can see below. I then needed to re-mesh again.
This was where I came across a big issue which initially took some figuring out. As you can see below I ended up with this big line across the base of the model, I initially though this was a split across it, but when I looked closer it was a bunch of stray polygons that stretched out across the model. I used the move tool to lift these away and then I used the masking tool to select and hide them and then delete them.


You can see where all the polygons expanded out and away from the model to make masking them easier.


After this, I re-meshed again. I then exported this as an OBJ to take into Maya. As I have said before I have not used Maya since being in university, so moving back into the software was like working in a new one I had never used before. I asked a friend for some help and he explained how I could create UVs in Maya, following his guide I was able to create new UVs for the house. This was much easier than I expected and something I actually really enjoyed doing them. I wasn't too precious about it and if I do them again I would do them much neater, but because this was my first time, I decided to use this as a test to learn, so that then if I made a mistake it wasn't as much time that I had used. Lucky it worked well, I exported the files again with the UVs and then went back to ZBrush to apply the new UVs.

Here you can see the Uvs created in Maya and then applied to the model in ZBrush.

After I had applied the UVs in ZBrush I needed to up the polycount before I reprojected the new UVs and mesh onto the original model. I did run into an issue when I upped the polycount where this happened. I wasn't sure what had happened, so I asked my friend to take a look, he managed to work out that it was a viewer issue and said that if I up the count and export it, open it in Maya and then export again back into ZBrush then the issue did not reoccur. I will do this the next day that I work on practical and hopefully, that solves my issues. Once this is fixed the next things I need to do are, project the new UVs onto the original model, Export the work and take it back into agisoft to apply the textures to the new UVs, export the texture map, do some hand painting in photoshop, re-export and apply the textures, after this I should have a finished house file that I can try to put into a 3D space.


No comments:
Post a Comment